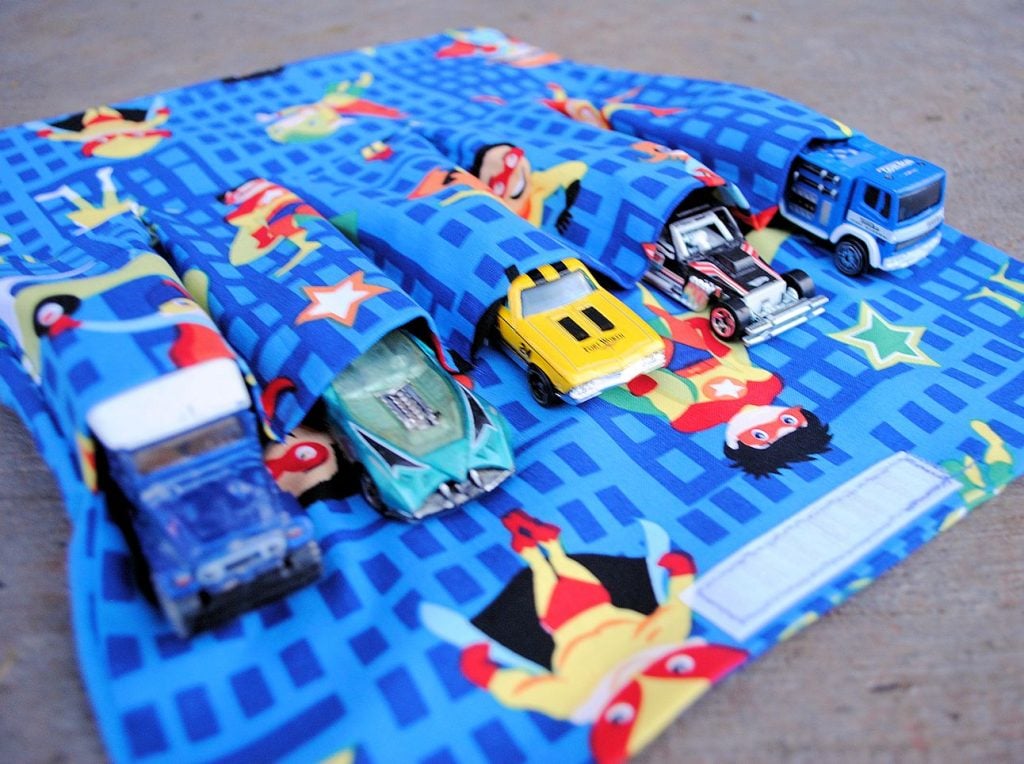
Supplies:
About 1/2 yard of kid friendly fabric
Thread
Cars to go in it
First of all you are going to cut out 2 pieces of fabric that are 11 inches across and 14 inches long. I round out the corners a little.
You’ll also need to cut one piece that is about 8 inches by 20 inches. Fold the top of this last piece down to meet the bottom with right sides together and sew around it leaving a small opening to turn it right side out. Turn it right side out, press it flat and sew your opening closed. It should look like this now when you lay it on top of your 11 x 14 inch piece:
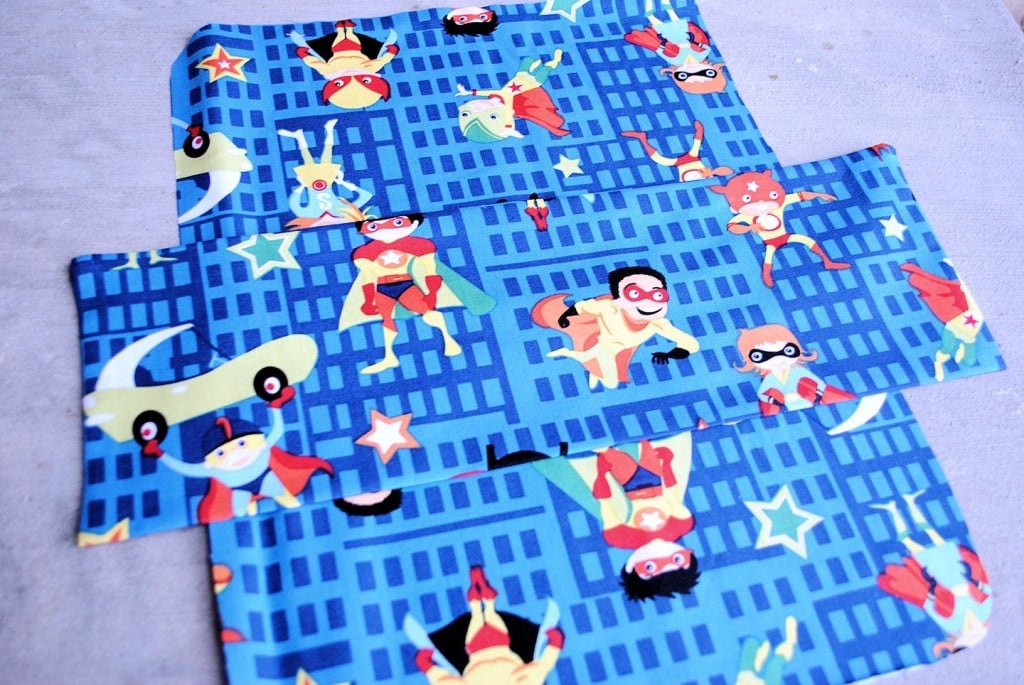
Grab 1 of your 11 x 14 inch pieces and lay your rectangular piece in the center of it (like shown above).
Pull the edge of your rectangular piece in and pin it along the edge of the 11 x 14 inch piece. Do this to the other side as well. Then pin the piece in across it evenly in 4 spots to form little pockets like this:
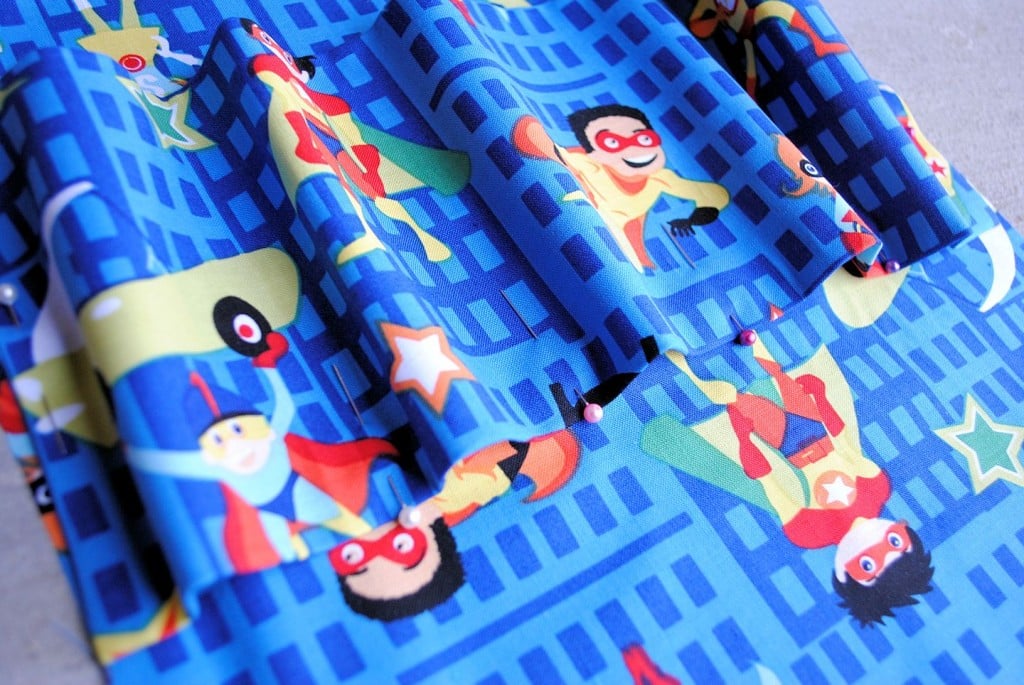
Sew a straight line in each of the spots where you just put a pin:

Next, you need to form little pleats at the bottom of these little pockets you just made. You are going to fold the bottom edges out so that they meet the next pocket over and lay smoothly along the bottom.
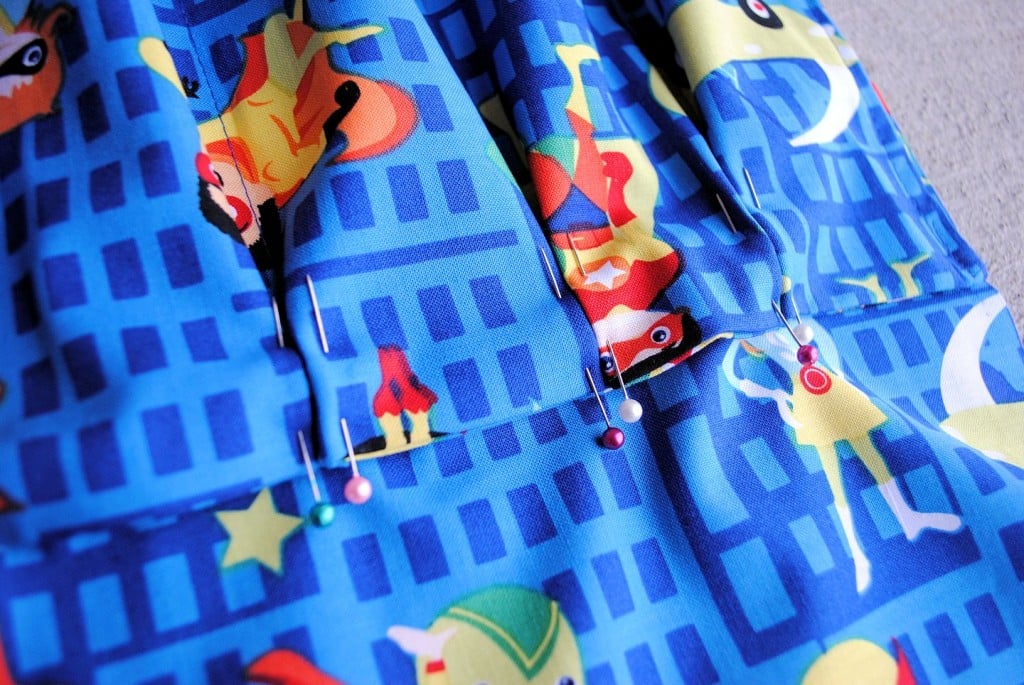
Then stitch a straight line across the bottom so that it looks like this when you are done:
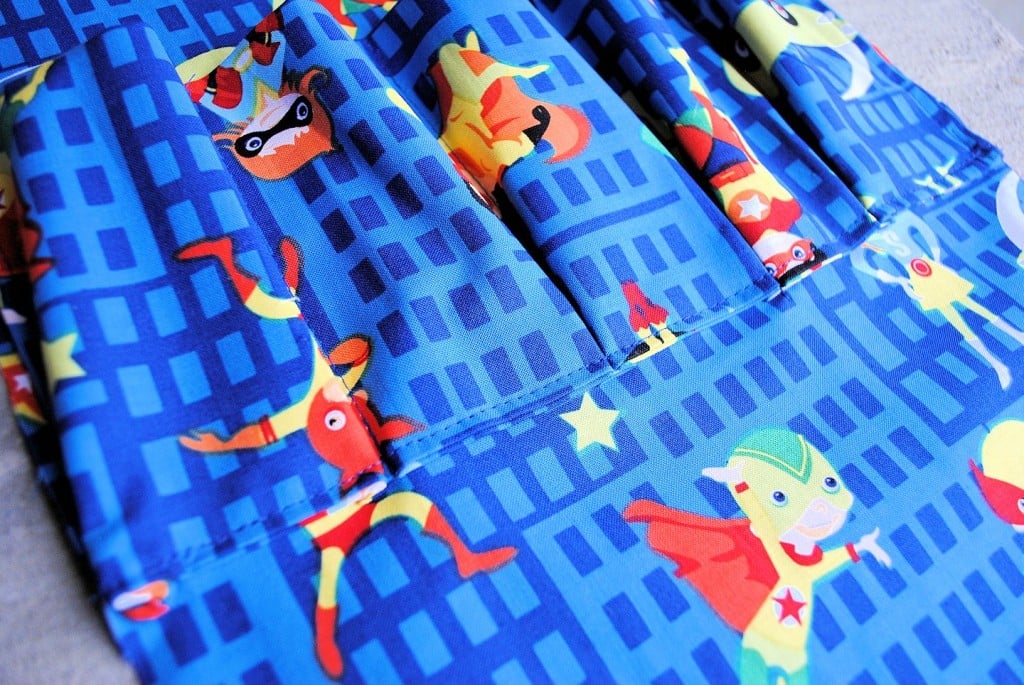
Now, grab your other piece of 11 x 14 fabric and put right sides together and stitch all the way around leaving just a small opening (about 2-3 inches) at the top to turn it right side out.
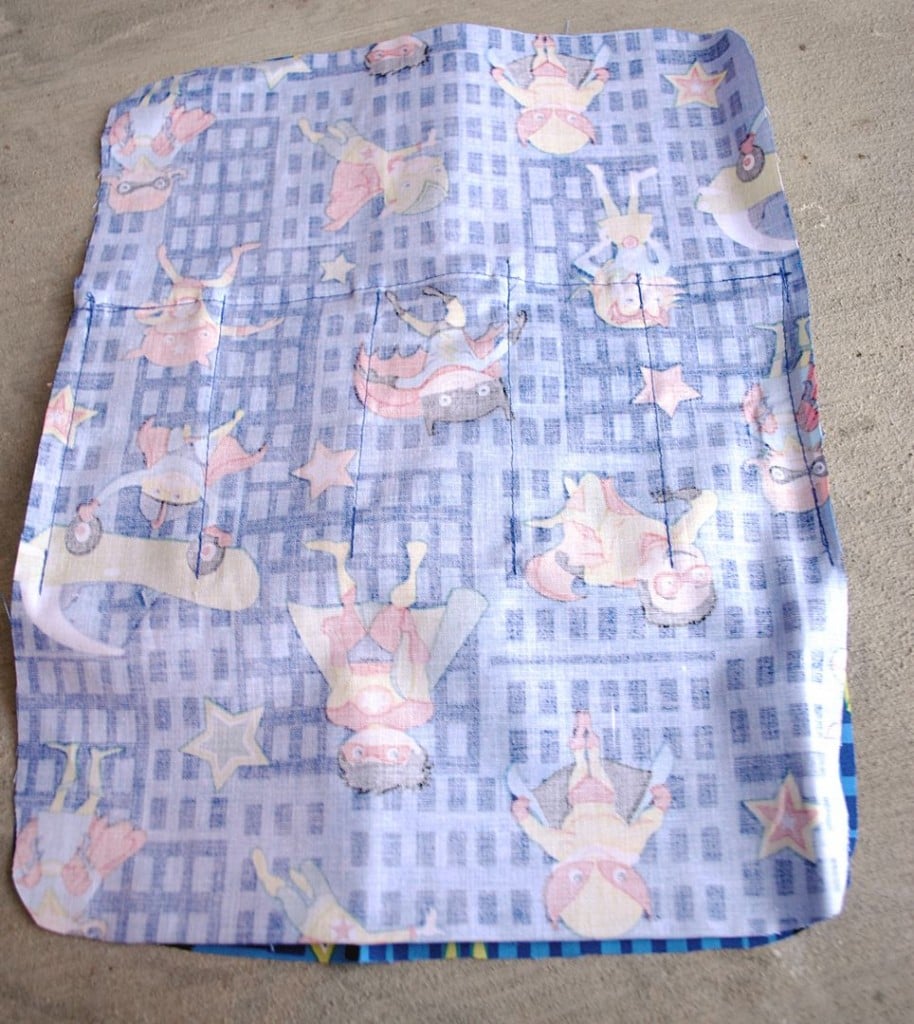
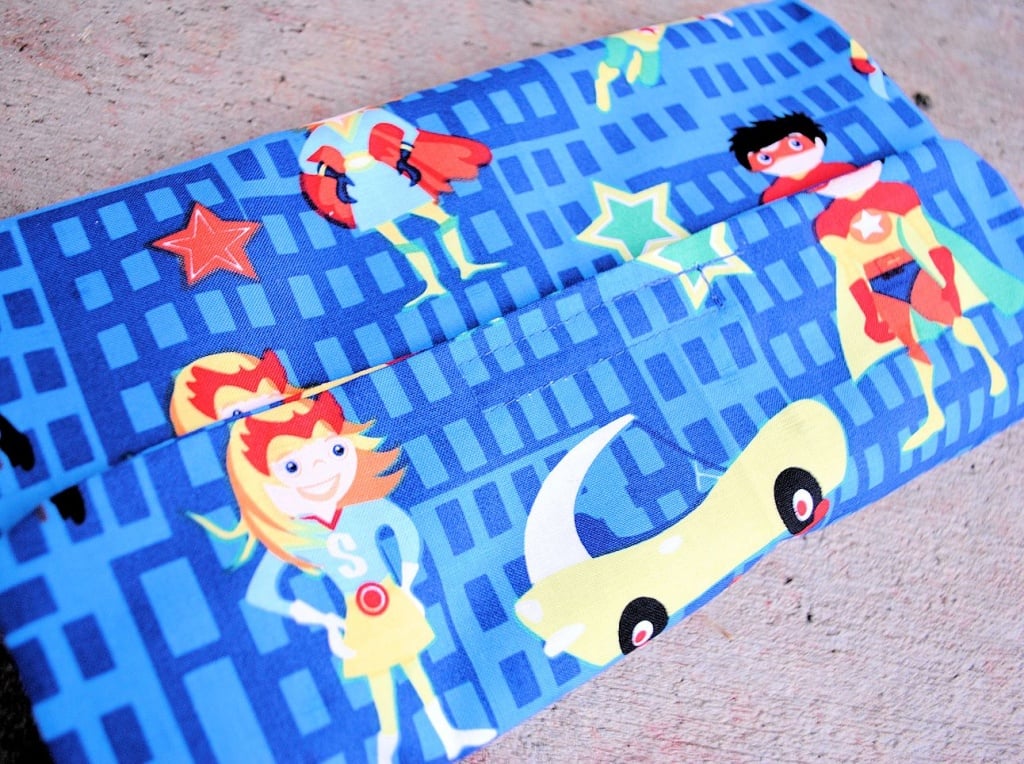
Turn it right side out, press it nice and flat and then add a piece of velcro to the top on the inside of the carrier (the part that has the car pockets) and on the bottom on the backside (the side that does not have the pockets) so that they meet up like this:
No comments:
Post a Comment