 Dimension:
 Finished size: Approximate 6 1/2″ (W) x 5 1/2″ (H)
Gauge: not important as long as the yarn label said it is suitable for 2.5mm to 3.5mm hook.
Materials & Tools:
1. Yarn, acrylic baby yarn, 5 – 6 colors.
2. Crochet hook, 3mm
3. Felt – White, Black and Red
4. Sewing thread – White, Black and Red
5. Sewing needle
6. Scissors
Abbreviations:
sl knot = slip knot
st = stitch
slst = slip stitch (to fasten)
ch = chain
sc = single crochet
dc = double crochet
fo = fasten off
Rnd = round
Crochet Pattern:
Work on right side only, unless stated otherwise.
FRONTBody sl knot on hook to begin.
Rnd 1 – ch 4, 14dc into 1st ch, slst to the 4th ch at the beginning rnd. This will give you a total 15 sts in a rnd, counting the 3chs at the beginning rnd as the first 1 dc stitch. (15 sts)
Rnd 2 – ch 3, dc in same st, 2dc in each st around. slst to the 3rd ch at the beginning rnd. fo. (30 sts)
Rnd 3 – New color: ch3, *2dc in next st, dc in next st, repeat * around. slst to the 3rd ch at the beginning round. fo. (45 sts)
Rnd 4 – New color: ch1, sc around. fo. (45 sts)
Tail Row 1 – New color: ch3, dc in same st, ch1, 2dc in same st, *skip 2 sts, (2dc, ch1, 2dc) in next st, repeat * until you have made 10 sets. fo.
Row 2 – New color: start at the ch1 space of previous row, ch3, dc in same space, ch1, 2dc in same space, *(2dc, ch1, 2dc) in next ch1 space, repeat * until you reach to the end. fo.
Row 3 – New color: start at the ch1 space of previous row, ch3, 2dc in same space, ch1, 3dc in same space, *(3dc, ch1, 3dc) in next ch1 space, repeat * until you reach to the end. fo.
Row 4 – New color: start at the ch1 space of previous row, ch3,
5dc 6dc in same space, *
6dc 7dc in next ch1 space, repeat * until you reach to the end. fo.
BACK Follow the front pattern with 1 color only.
When making the tail, you can either follow the front pattern by working on right side only, that is fo at every rnd and start at the first ch1 space of previous rnd.
Or,
Turn your piece to the other side to work without have to fo at each rnd. Make 2 to 3 slst at the beginning of each rnd to get to the ch1 space before beginning the first ch3 for the new rnd. Don’t fo and continue with the next step by joining the front and back pieces up.
Hook Loop: Make a loop at the middle of the tail with ch 10 and slst to the last sc.
Weave in all ends to neaten both front and back pieces.
Joining Front & Back(Sew facial assemblies on the front before joining the front and back piece. Detail on sewing, please read further down.)
The tail outlining and detailing are made while joining both front and back pieces. All stitches must go through both pieces for joining up.
Place the front piece on top of the back piece, with wrong side facing each other. Line up edges.
Side edge of the tail: *1sc (at the corner to the tail and go through both layers), ch 1, repeat * until you reach the body.
Body & feet: sc in next 7 sts, [make foot: ch 2, *ch 2, sc on 2nd ch from hook, slst to 2nd next ch, repeat * 3 times, sc on next st, sc in the same st of last sc before making foot], sc in next 4 sts, repeat make foot, sc in next 6 sts.
Side edge of the tail: *ch 1, 1sc, repeat * until you reach the corner of the tail
Tail outline and joining:
* sc in next 7 sts. sc in between the 2 shells.
Ch 1, sc around the row below (in between the same 2 shells you just did, only on row 7).
Ch 1, sc around row 6.
Ch 1, sc around row 5 (there are 2 skipped sts available, 1 sc into the closest one, ch 1, then sc into the other).
Ch 1, sc around row 6.
Ch 1, sc around row 7.
Ch 1, sc around row 8.
Facial Assembly: Do this before joining the front and back piece.
1. Cut 2 pcs. of 3/4″ diameter of white felts, 2pcs. of 1/2″ diameter of black felts, 3/4″ red beak and 1 1/4″ long snood.
2. Sew on the front of the turkey with respective color thread.
 Get ready some fall color yarns, for example shades of brown, orange, yellow, grey and white.
Cut eyes, beak and snood from felt. Plan the color combo and arrangement or refer to above photos for suggestion.
Slip knot on crochet hook, crochet 4 chains. Follow crochet pattern above (rnd 1 to rnd 4) to make the turkey body.
 Begin to crochet turkey tail by making 10 sets of “2dc,ch1,2dc” for row 1.
Always begin each row from right hand side with right side facing you. Follow crochet pattern above (row 1 to row 4) to make the turkey tail.
 Once the front is done, weave in all ends to neaten.
Sew facial of turkey to the body. Crochet the back with single color yarn by repeating the front pattern, except that you can choose to either follow exactly, or, turn your piece as you work on the the tail.
Make a 10 chains hook loop at the middle of the last row. Place the front piece on top of the back piece, with wrong side facing each other. Line up edges.
Crochet along the edge towards the body. Stitches must go through both layers.
Crochet feet.
Crochet towards the turkey tail. Single crochet 7 stitches on the shell and 1 stitch between the 2 shells.
 Crochet 1 chain, then single crochet again between 2 shell on the following row.
 Repeat the stitches until you get to the bottom.
 Single crochet in the first skip stitches of round 5, chain 1, single crochet on the second skip stitch.
Go up to the top again. Continue to crochet by repeating the stitches for the rest of the tail details.
 Slip stitch and fastern off the yarn when you reach the first stitch of the joining process.
Weave in the end.
Done!


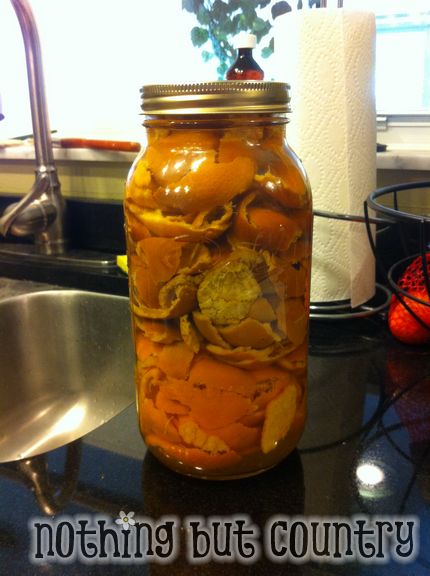
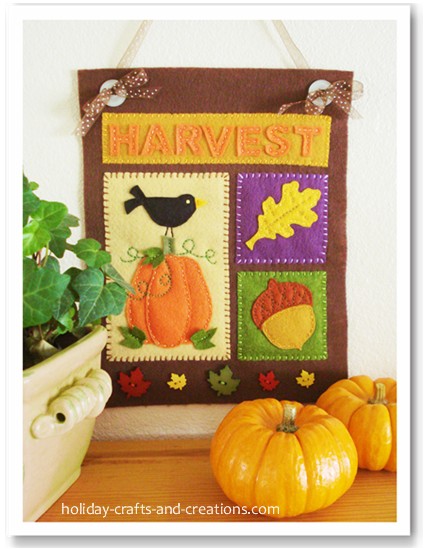

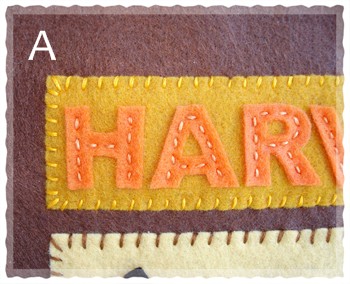 Harvest background – gold felt Harvest letters – orange felt Border stitches – whip stitch in gold Letter stitches – Running stitch in orange
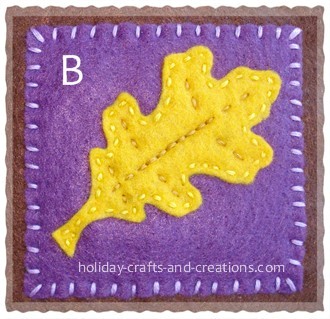
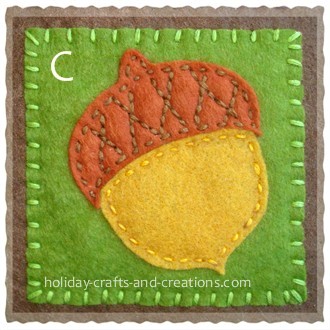 Acorn background – olive green felt Acorn top – rust or brown felt Acorn bottom – gold felt Border stitches – whip stitch in olive green Acorn top stitches – backstitch for diagonal lines and running stitch along edge in brown Acorn bottom stitches – Running stitch in gold